(※We wrote this article in japanese at 8.19 2020 and translated in English at 10.21 2020)
Hello everyone!
I’m DJ DAI from OKAYAMA DJ SCHOOL.
Are you guys setting up turntable correctly?
Setting the turntable is a very basic thing, but I think that there are few people who are active DJ who actually have the correct knowledge and can set it correctly.
If the settings are not made correctly, it will cause needle skipping and the sound will skip.
No matter how good you try to play, it will be ruined if you don’t make the basic correct settings .
Therefore, this time, we asked DJ Yossy who is equipmnt specialist about how to setting up turntable correctly.
This article is a Must-see for both active and beginners.
(※Sorry! We haven’t translated this video into English yet. We will translate later.)
【Setting procedure】
The setting procedure is the following three points.
②Make needle arm flat.
③Adjust weight of needle.(=Adjust needle pressure.)
We will explain these three points in detail.
① Make turntable flat.
In the first place, if the height of the foot of the turntable is tilted, the record will be tilted.
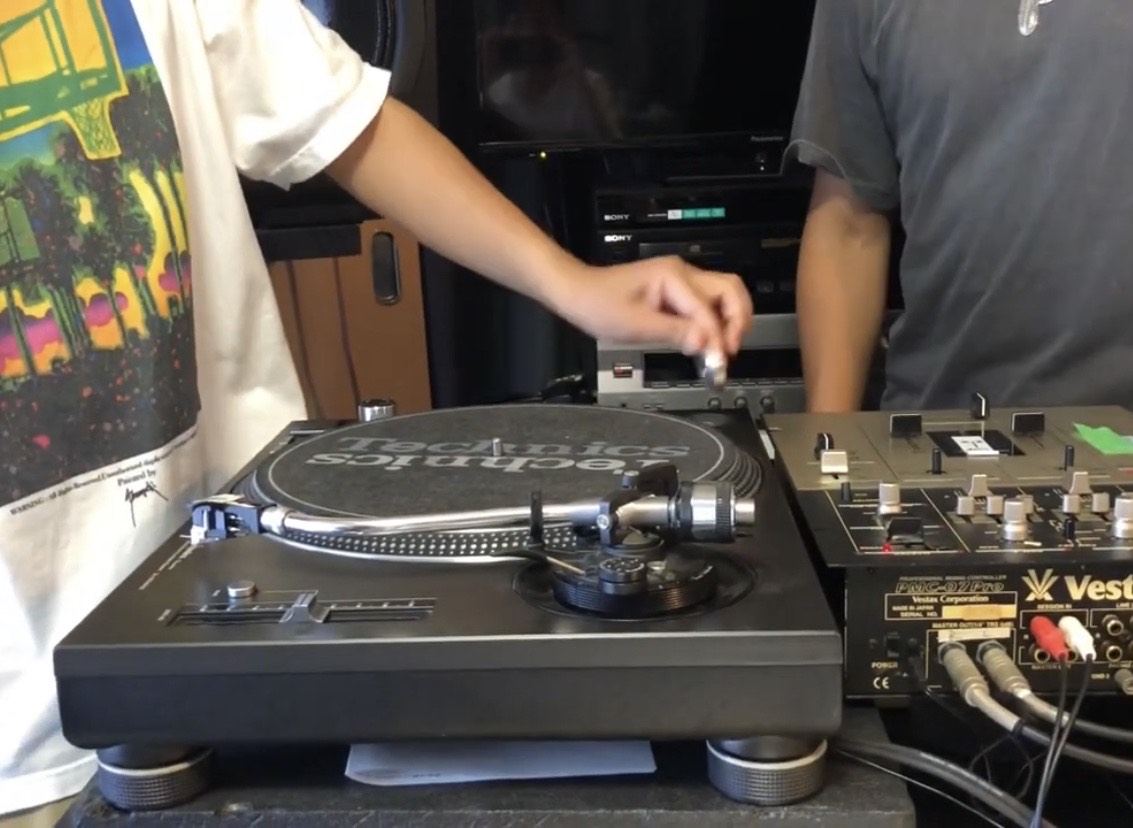
↑The adapter for 7 inchi is here.
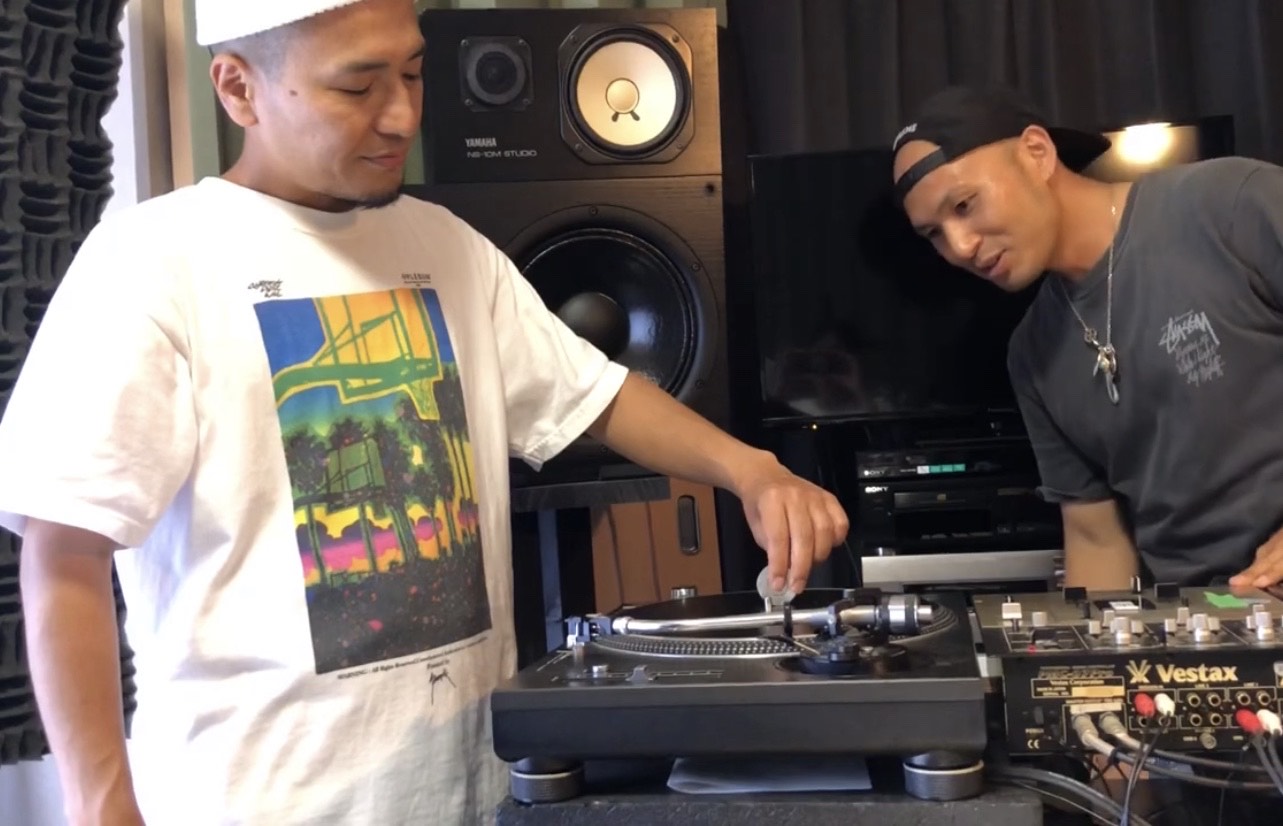
↑When we put the adapter,…….
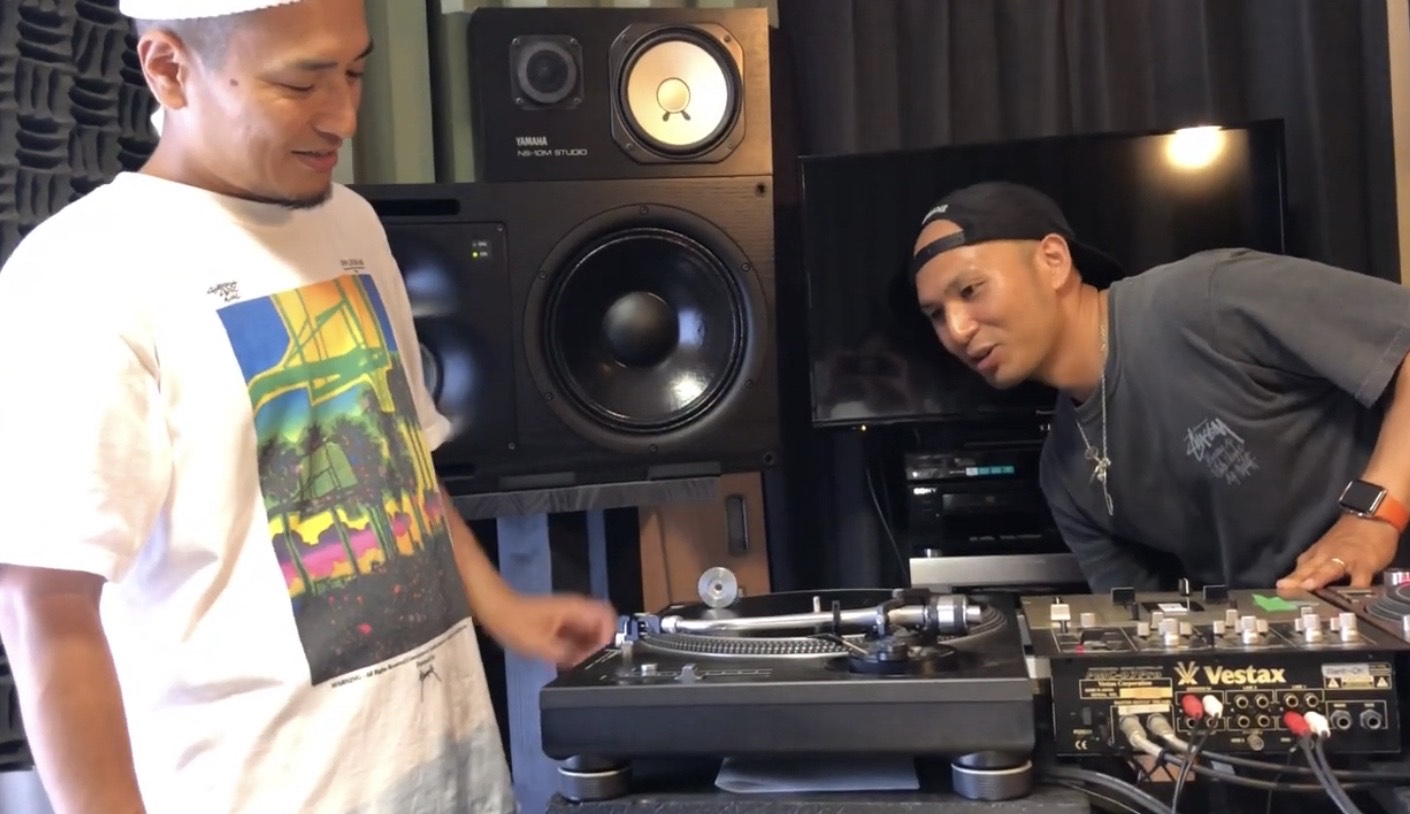
↑It has rolled.
If the record adapter roll like this, adjust the height of the foot of the turntable so that it stays flat.
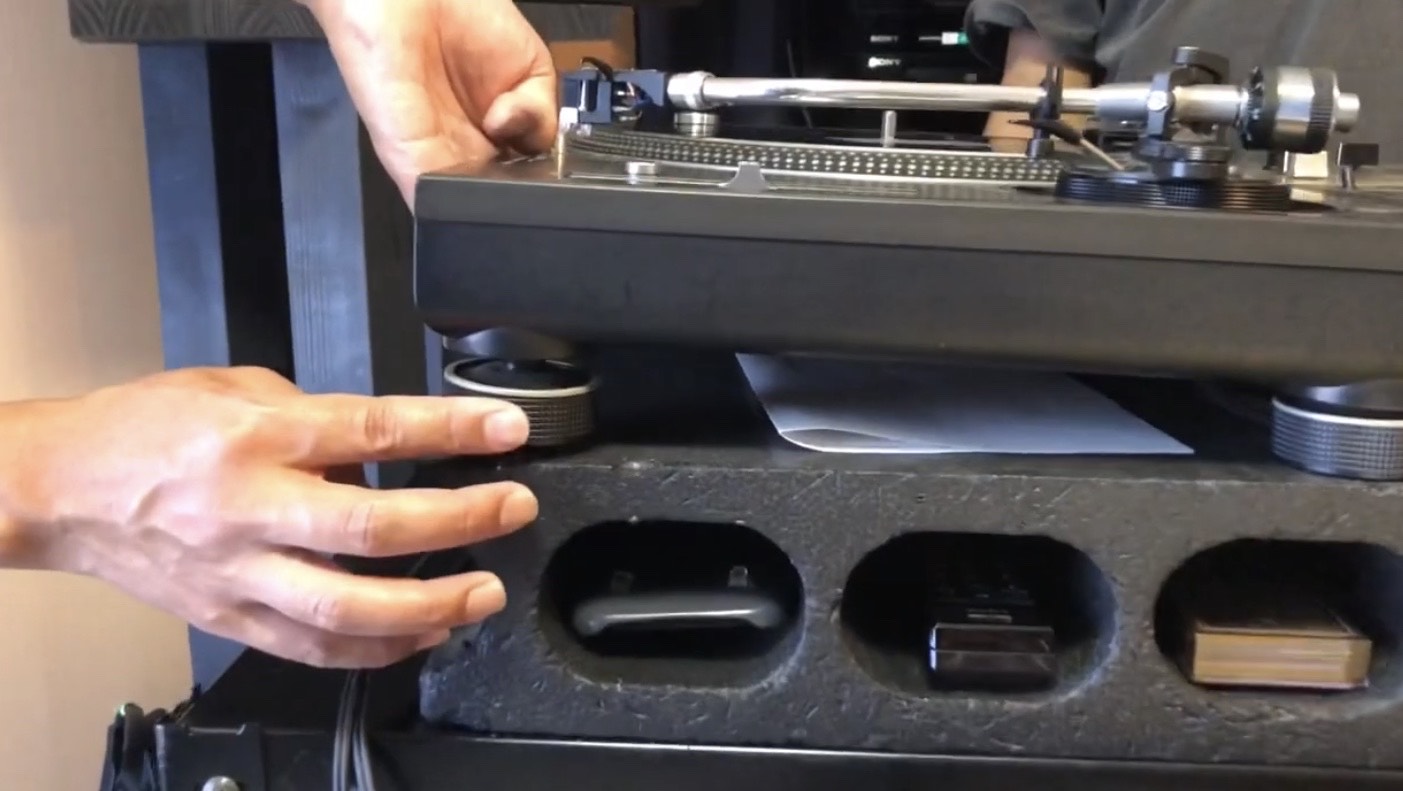
↑Adjust the height by turning the foot .
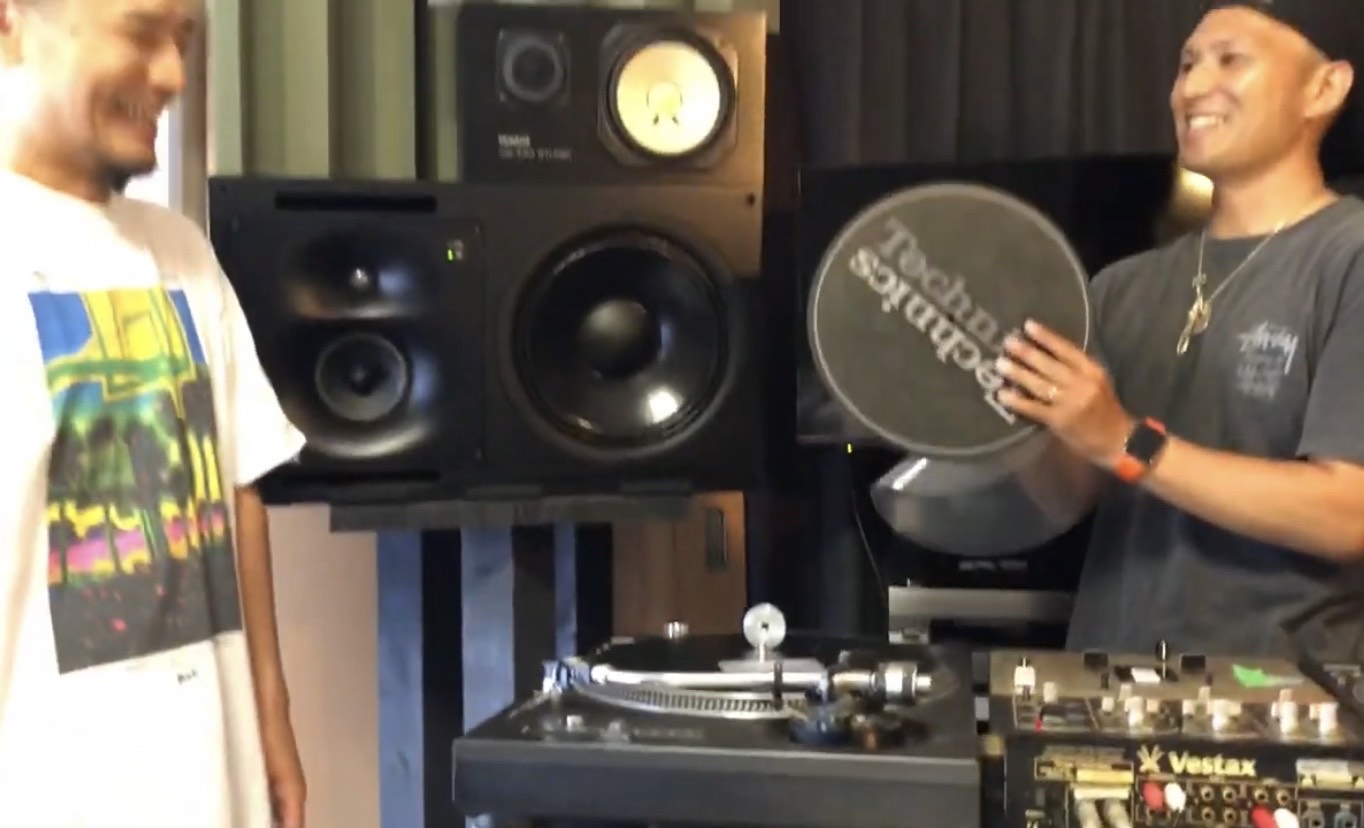
↑Now it become flat!
So, ①Make turntable flat is completed.
②Make needle arm flat.
The needle(same for the cartridge) itself has a weight, so if you attach the needle to the arm, the weight of the needle will tilt the entire arm.
Therefore, after installing the needle, you need to turn the dial on the attachment of the arm to flat the entire arm.
(Turn clockwise to raise the arm and counterclockwise to lower it.)
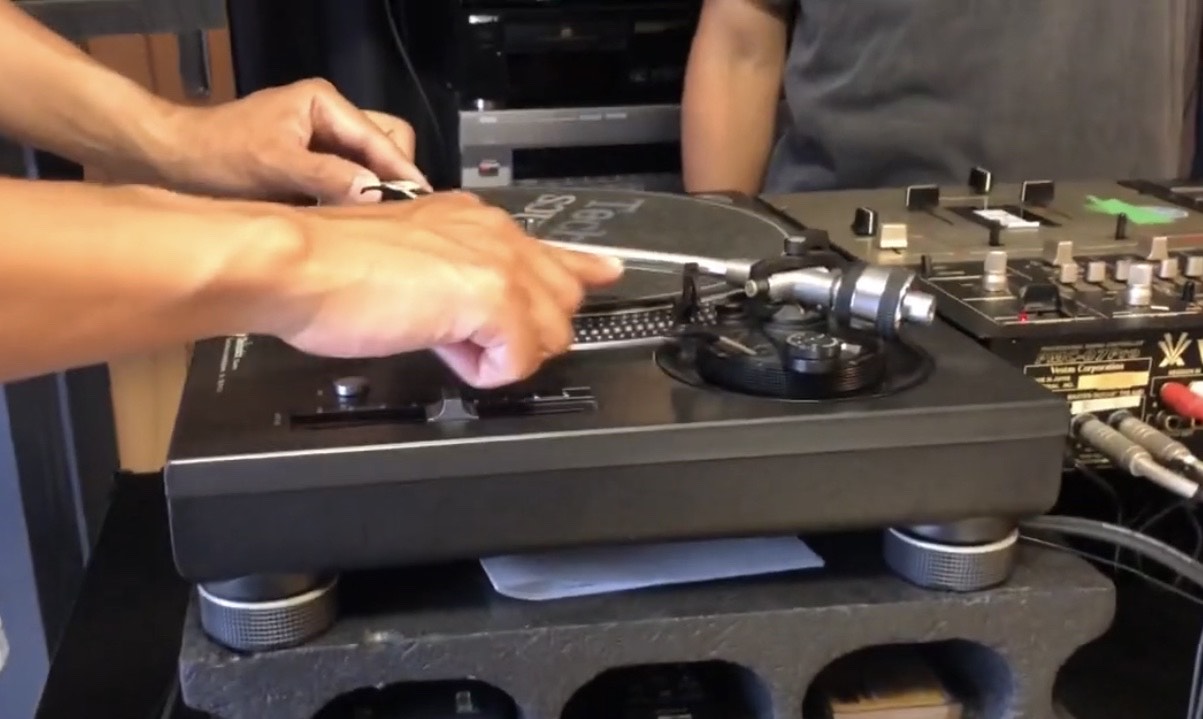
↑With the needle attached, adjust the arm and the record surface are flat.
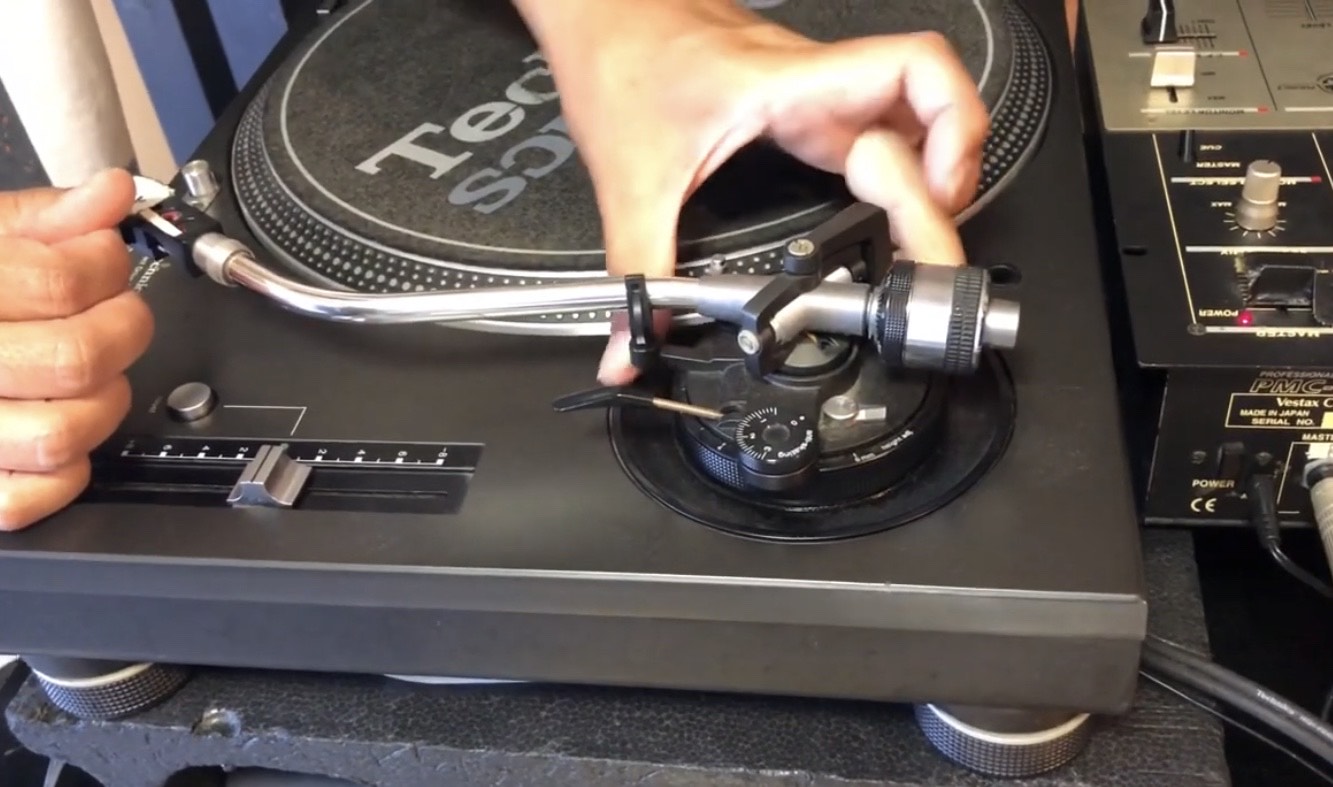
↑The dial at the base of the arm.
Since the instruction manual of turntable describes how many millimeters to fit, turn the dial so that arm and slip mat are flat.
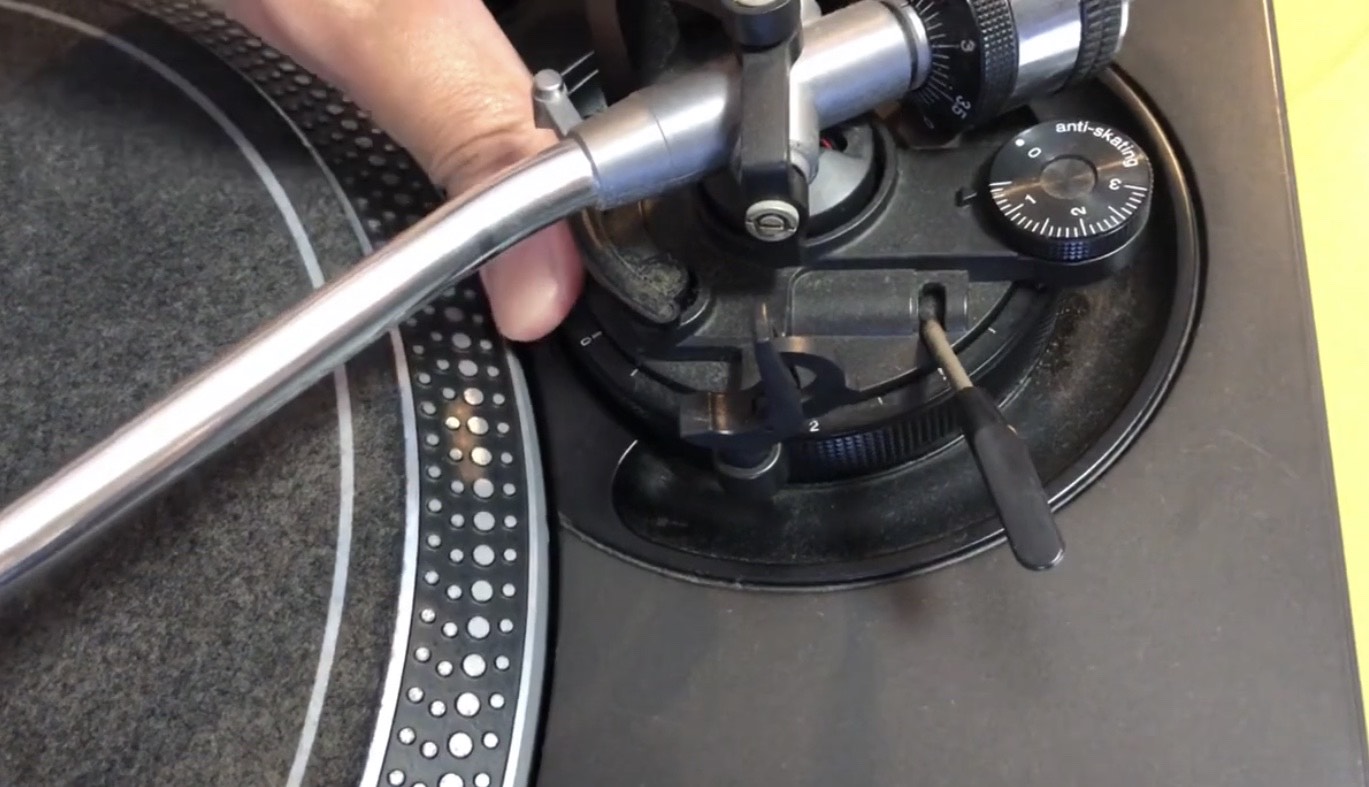
↑In case or this needle, it is 2mm, so adjust the dial to 2mm. This photo is in the 0 state, so turn it up to 2.
(For example, if you adjust it to 2mm, it means that the entire arm is raised 2 mm.)
After adjusting the arm, be sure to lock the dial by pulling the silver knob toward you!
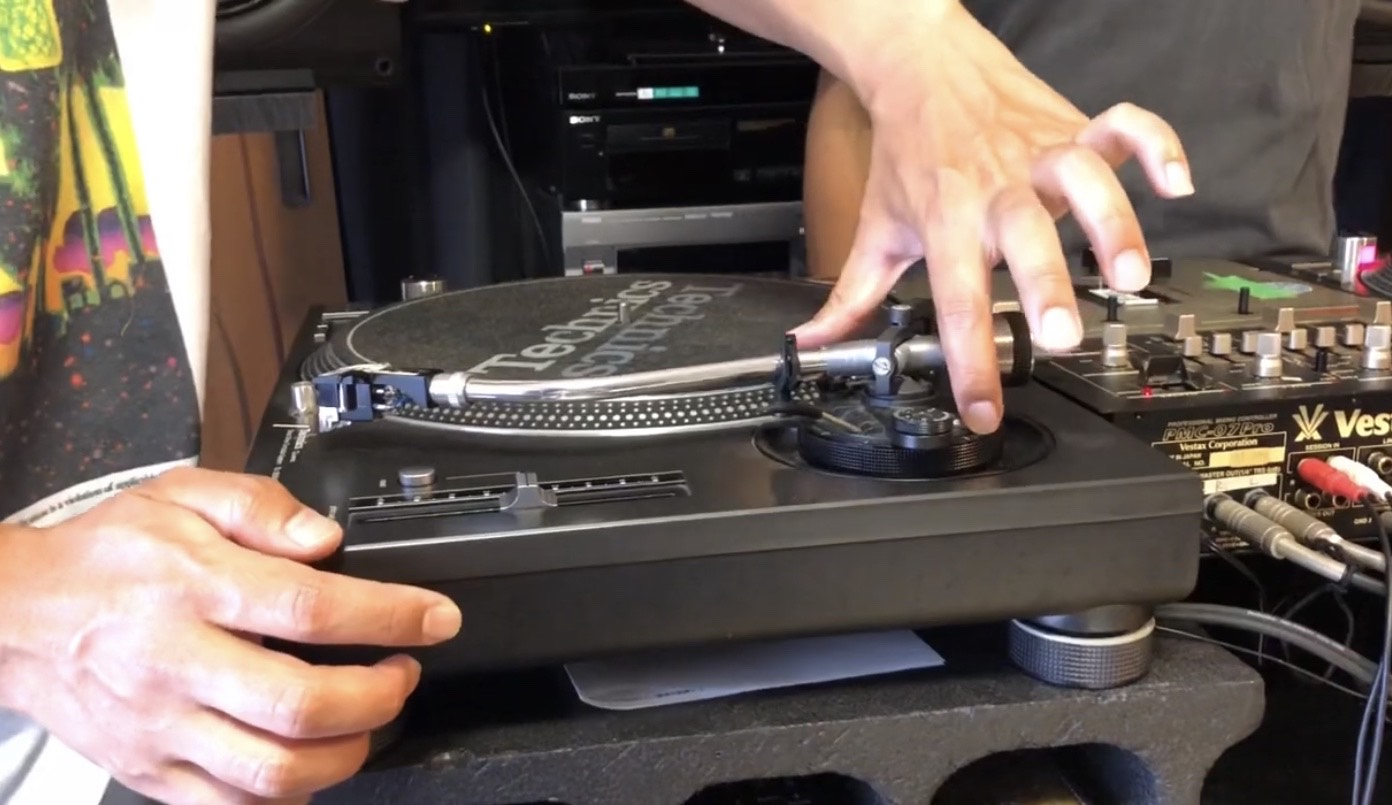
↑There is a silver knob on the index finger of the left hand.
If this is loose, the entire arm will wobble and cause needle skipping.
According to Yossy, there are quite a few people who can’t lock here, and club turntables often don’t.
It is often loose due to sound vibrations, so it’s a good idea to check it on site as well!
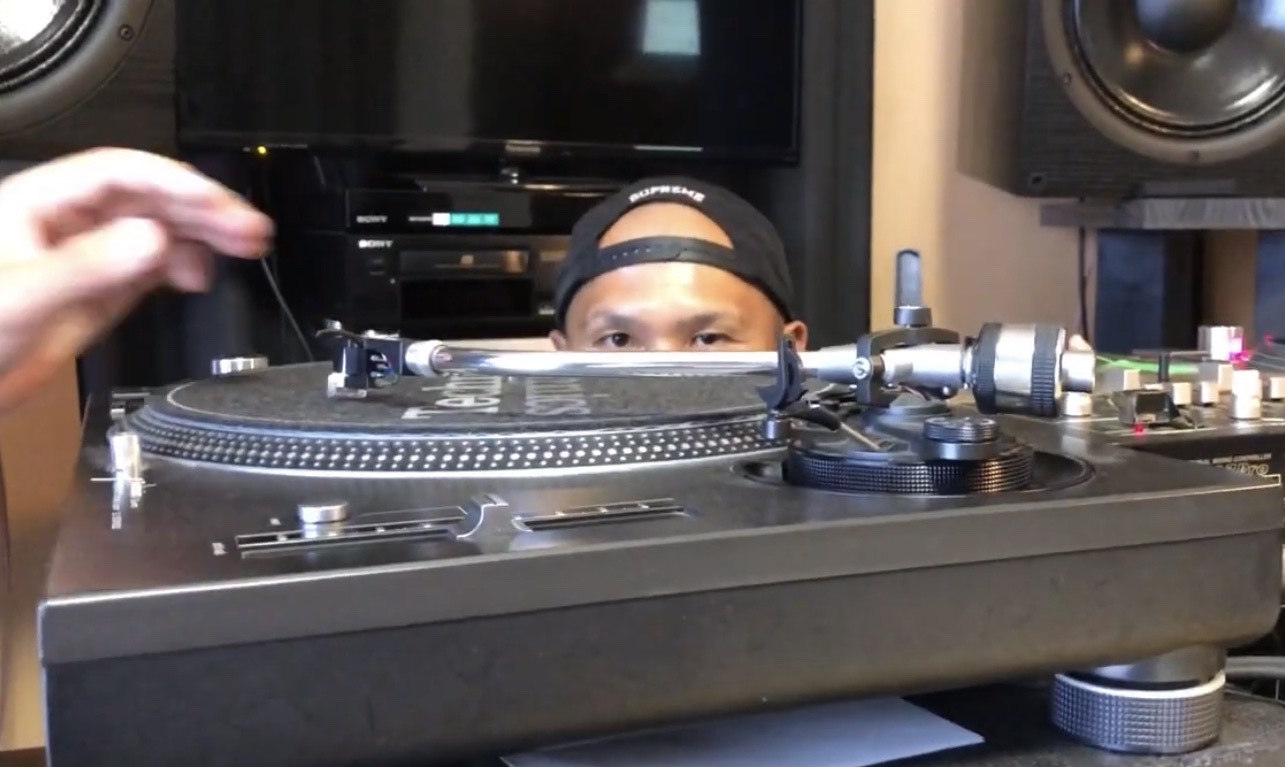
↑The arm and record surface are now flat.
③ Adjust weight of needle.(=Adjust needle pressure.)
Finally, we will adjust the weight of the needle.
It is difficult to understand because it looks similar to the procedure ②, but ② is the adjustment to level the arm itself.
By adjusting the weight of the needle in step ③, you can adjust the needle pressure.
The instruction manual for the needle says how many grams it should weigh, so we will follow the three steps below to achieve that.
(1)Turn the weight behind the arm to flat the arm.
(2)Since the state where the arm is flat is “zero gram”, move only
the weight scale to align the zero scale with the black line on the arm.
(3)Move the entire weight to fit 3 grams (in the case of the needle
in the video, it depends on the needle).
(1)Turn the weight behind the arm to flat the arm.
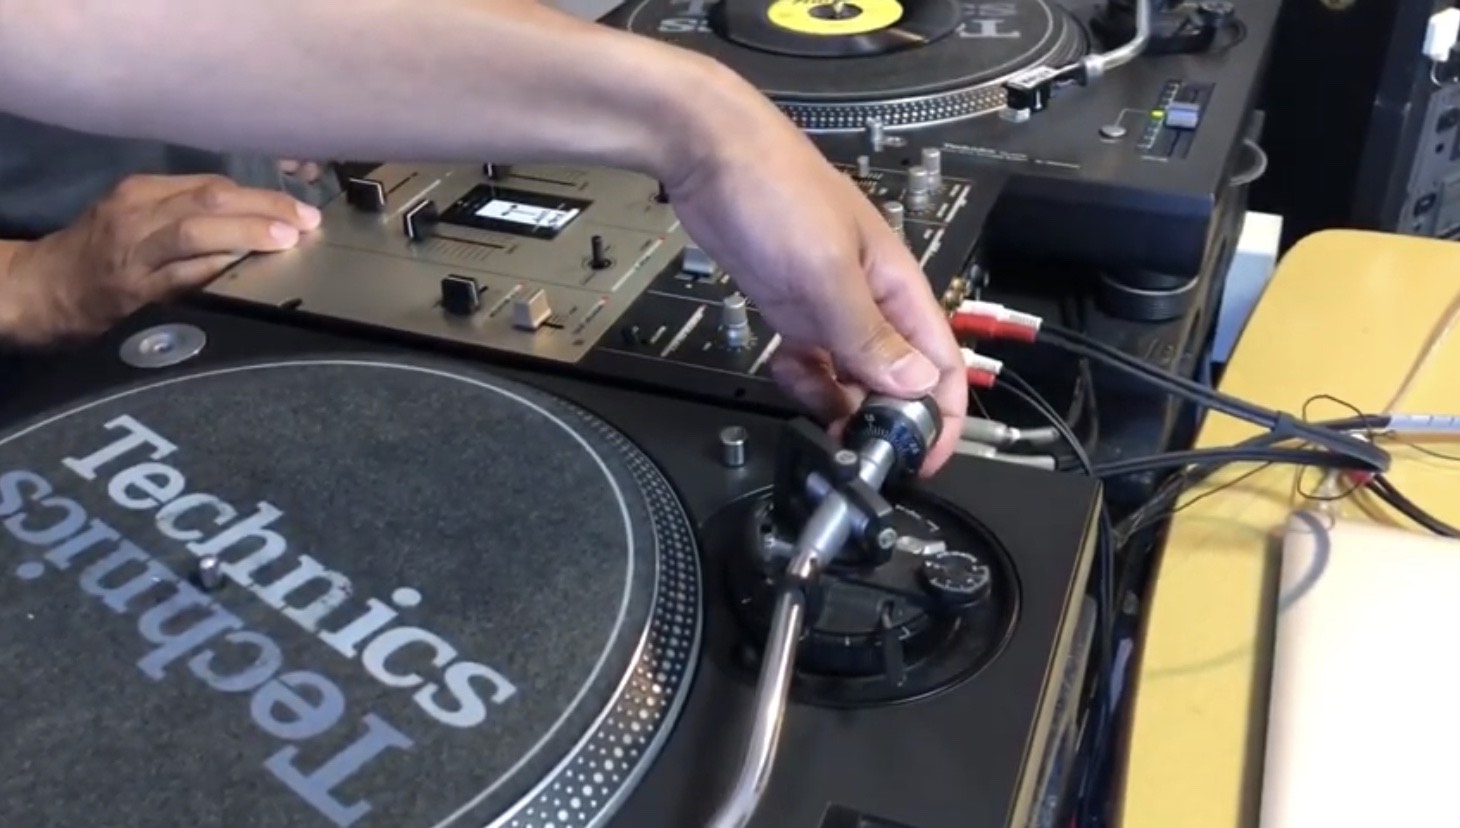
↑As you can see, there is a weight behind the arm that you can turn.
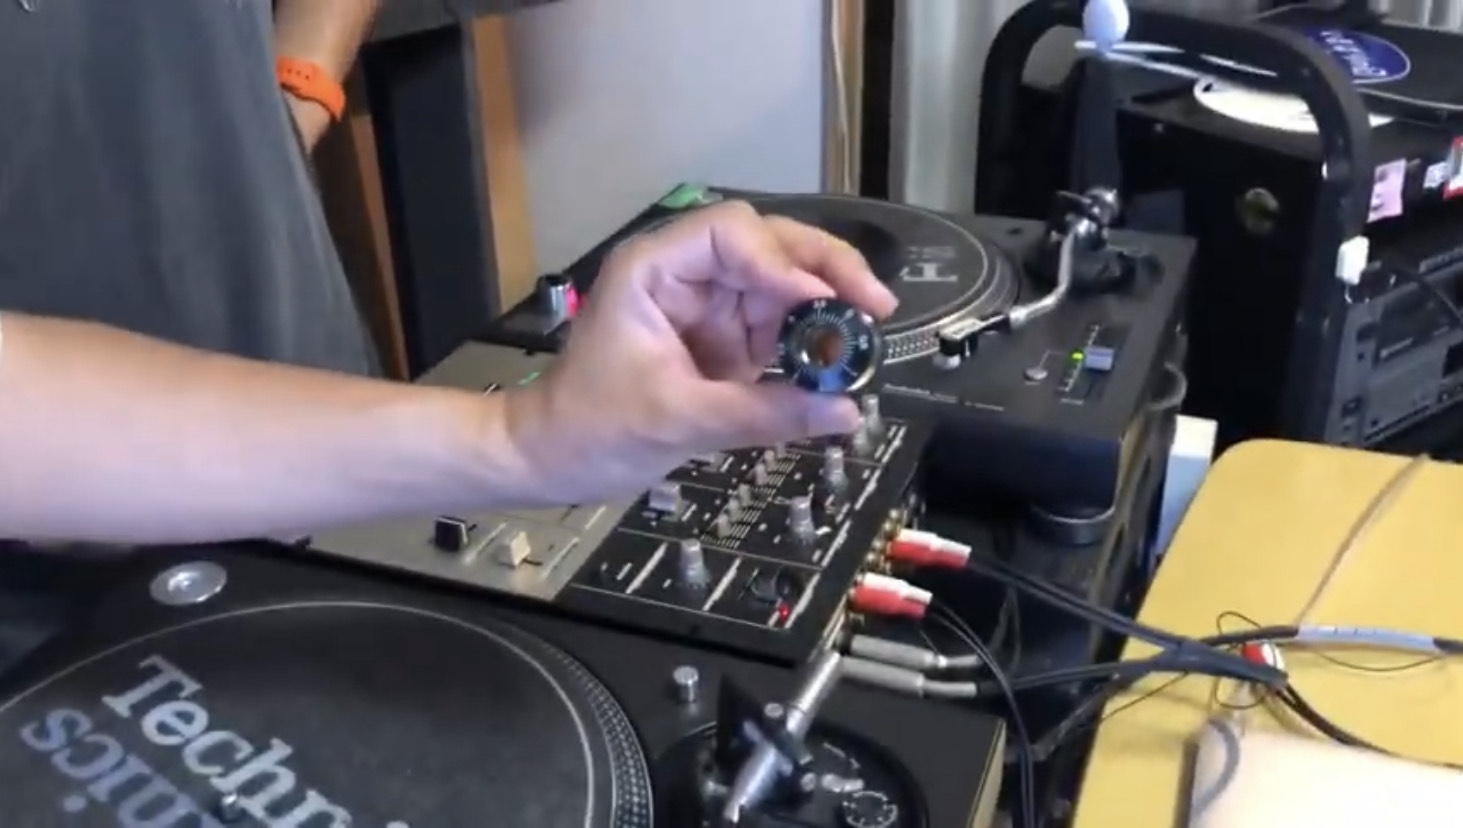
↑By the way, the weight can be removed by turning it like this.
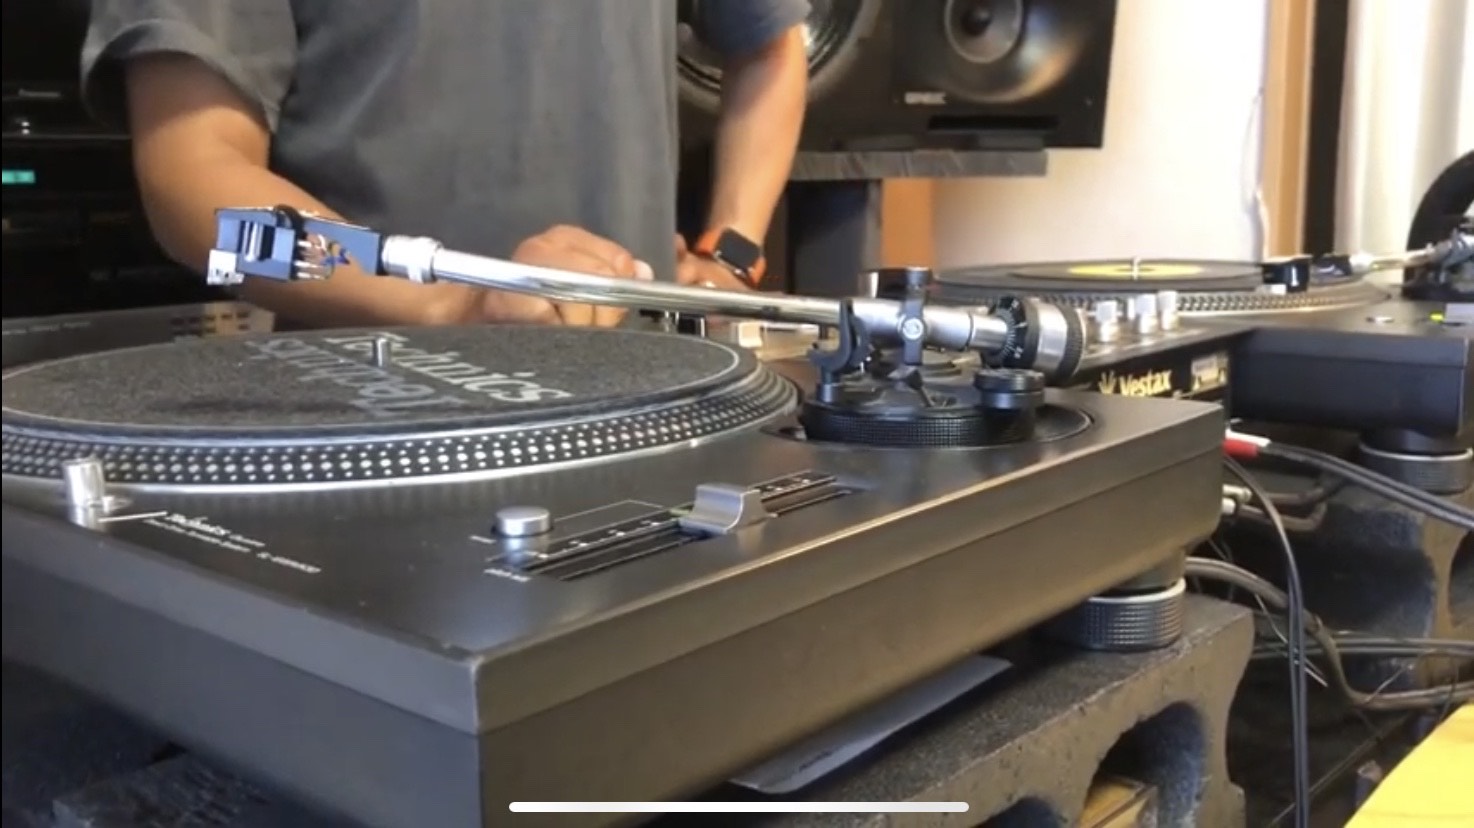
↑Move the arm so that the tip of the needle is above the record, and first adjust this to level it. If it is not adjusted, the entire arm is tilted toward the weight as shown in this photo .
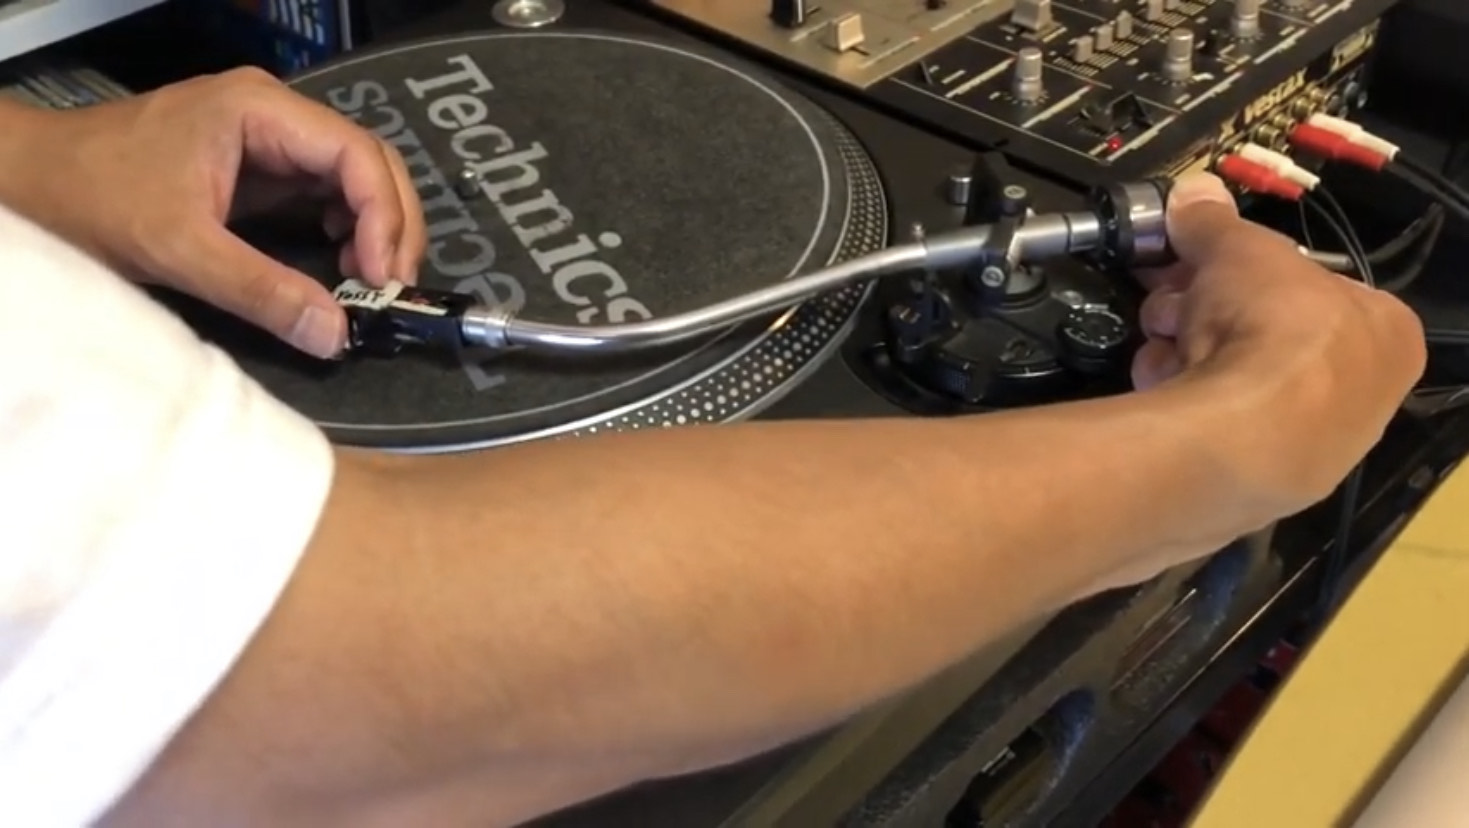
↑Turn the weight to move it towards the needle.
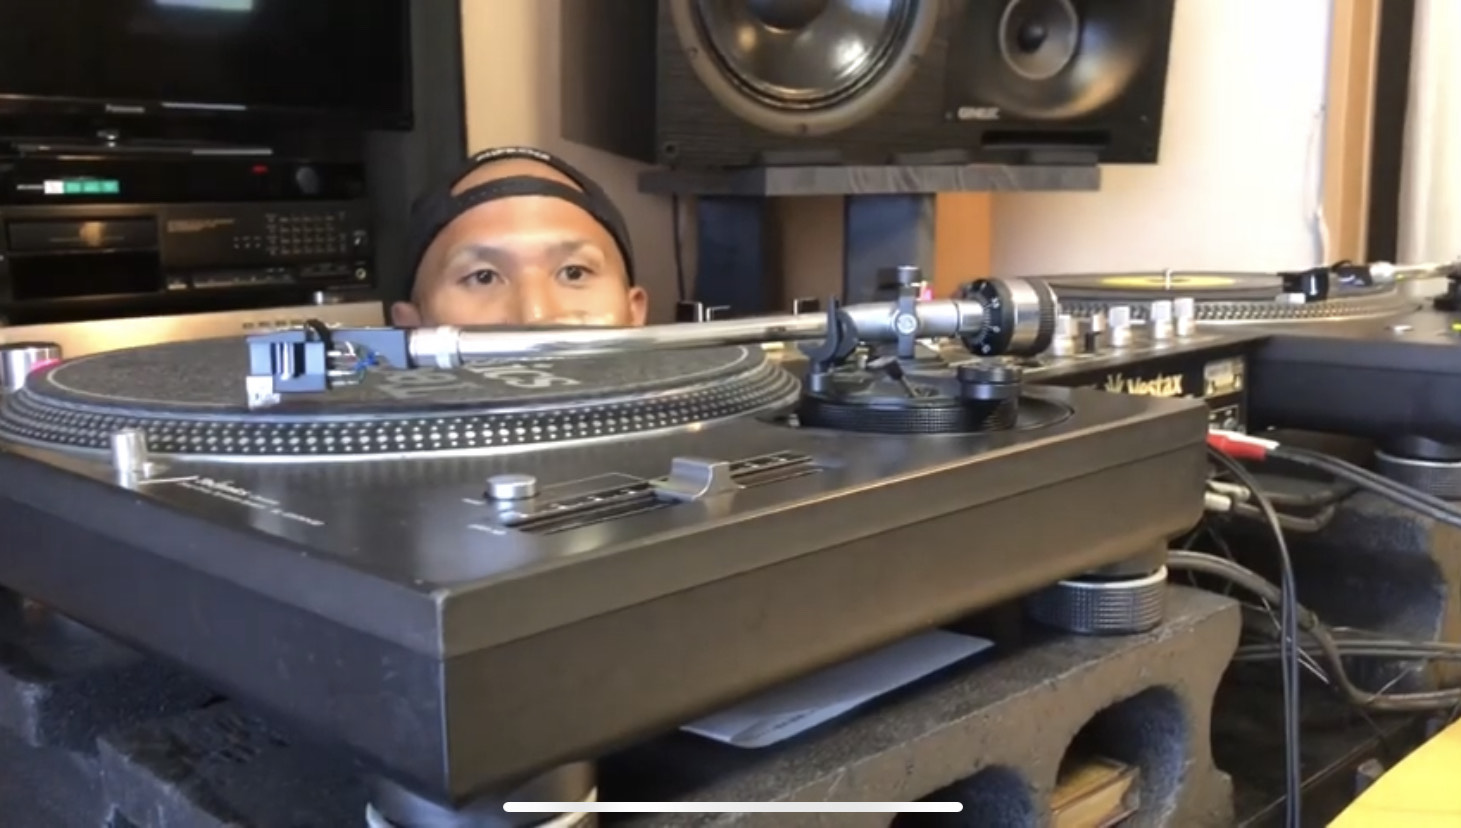
↑Straightened.
The state where the entire arm is straight as shown in the photo is the state of “zero gram”. Once this is done, move on to step (2).
(2)Since the state where the arm is flat is “zero gram”, move only the weight scale to align the zero scale with the black line on the arm.
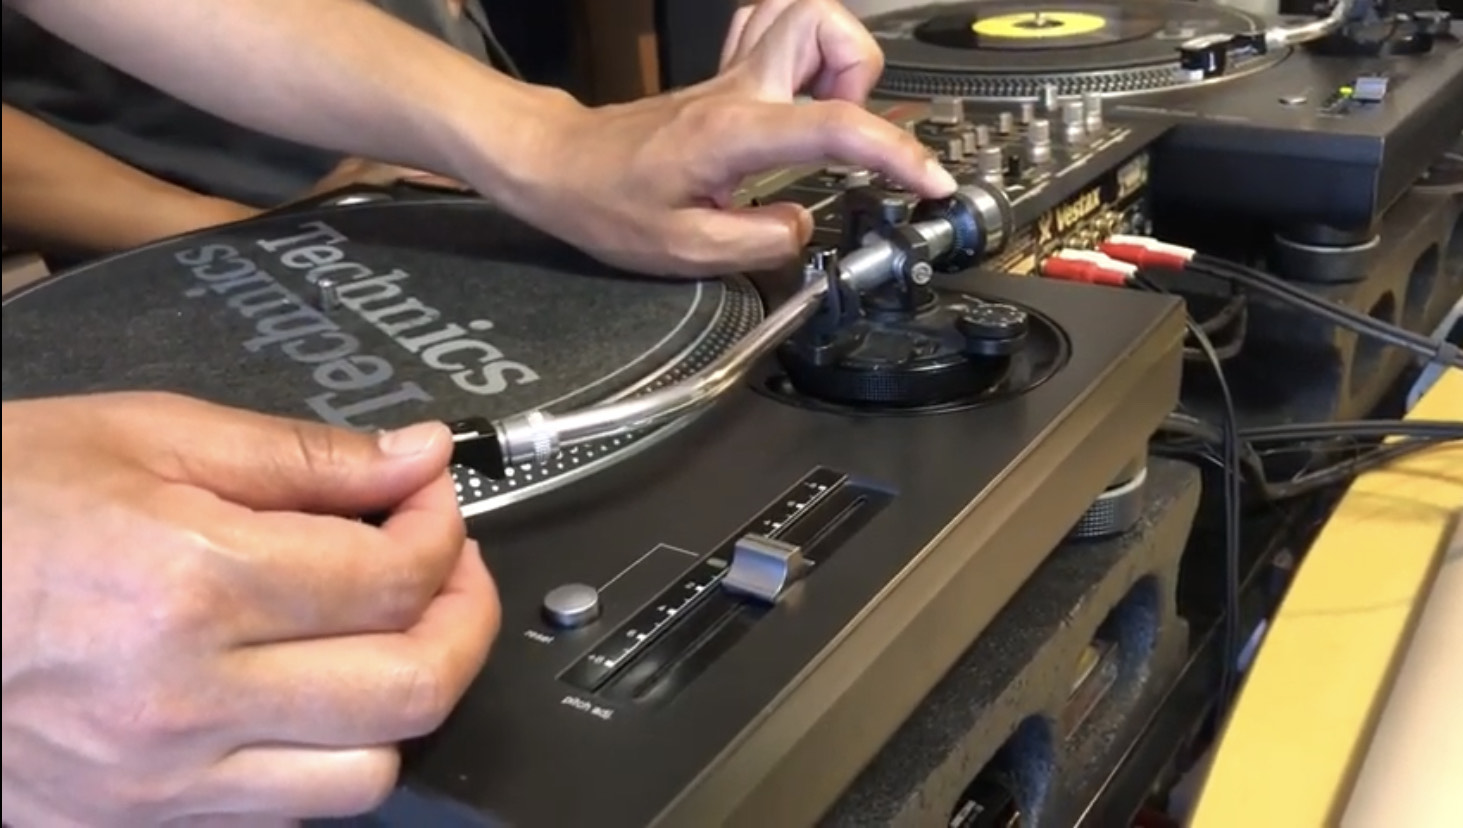
↑Only the scale of the weight can be turned, so adjust it. It’s a little hard to see, but the zero scale is a little off the black line in the middle of the arm, so
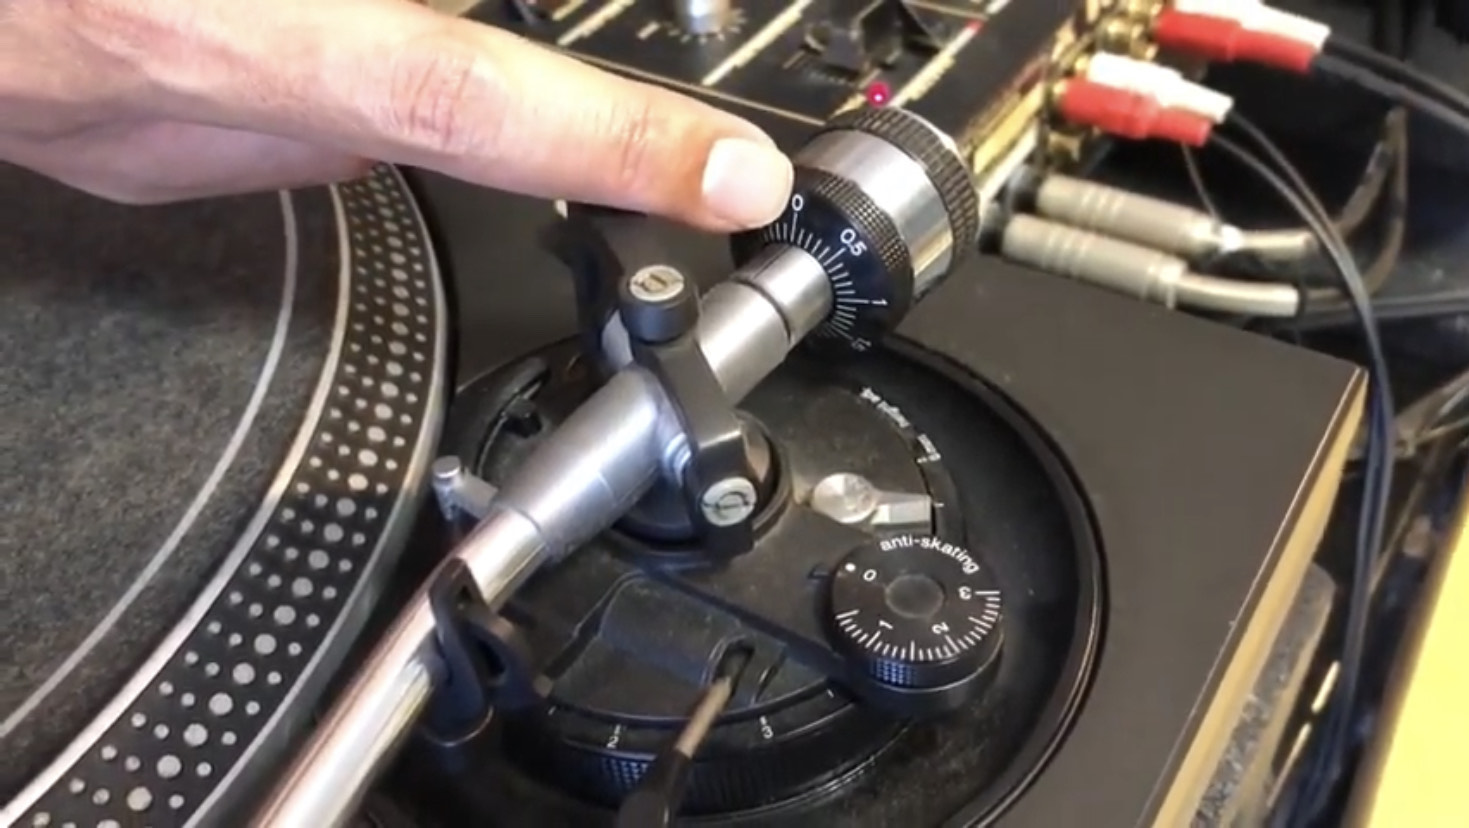
↑Set to zero like this.
(3)Move the entire weight again to fit 3 grams.
This is the final process.
Adjust the weight to straighten the entire arm, then move the scale to zero, then turn the entire weight to fit 3 grams.
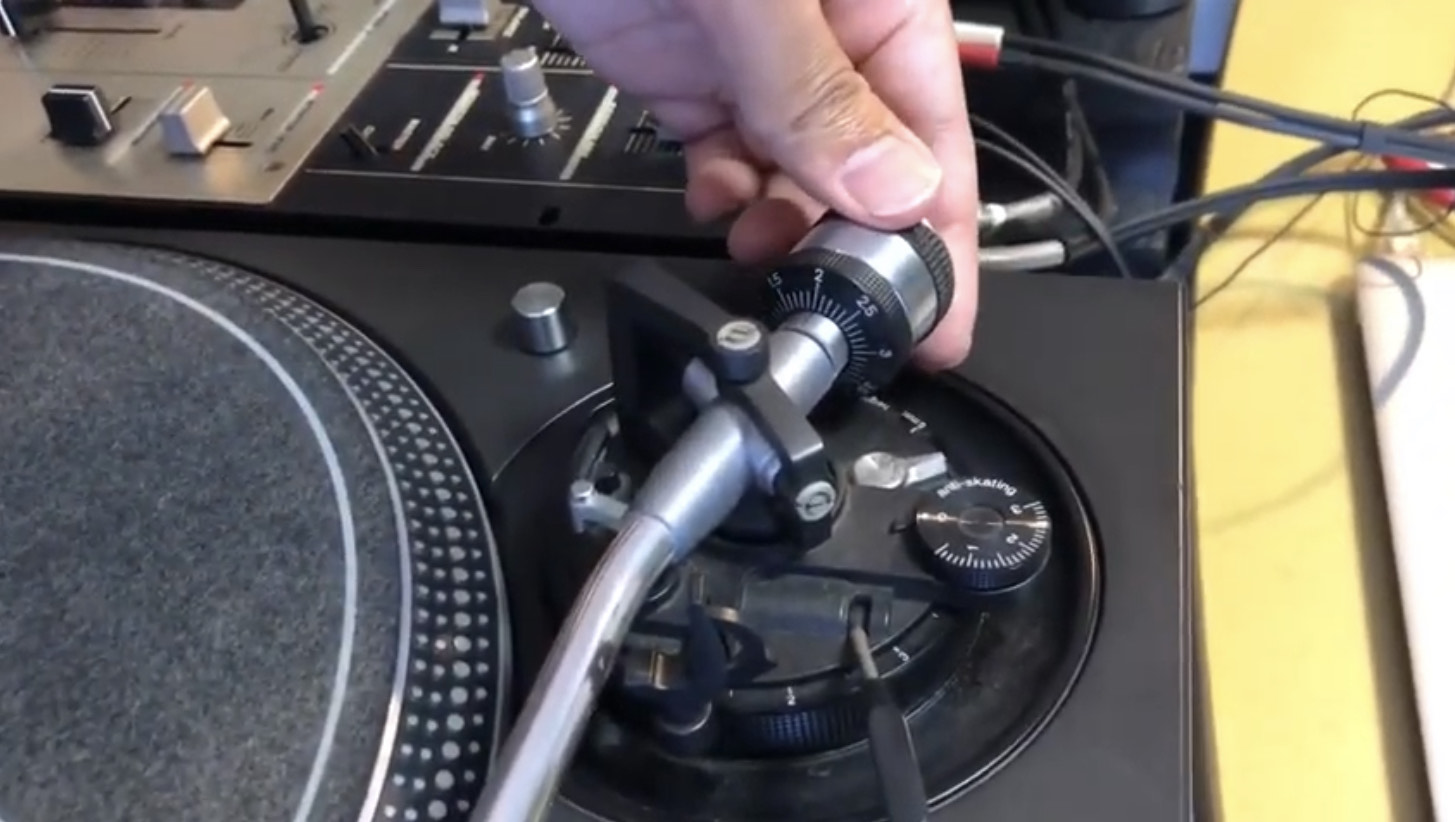
↑Turning the scale. It is the state of 2.
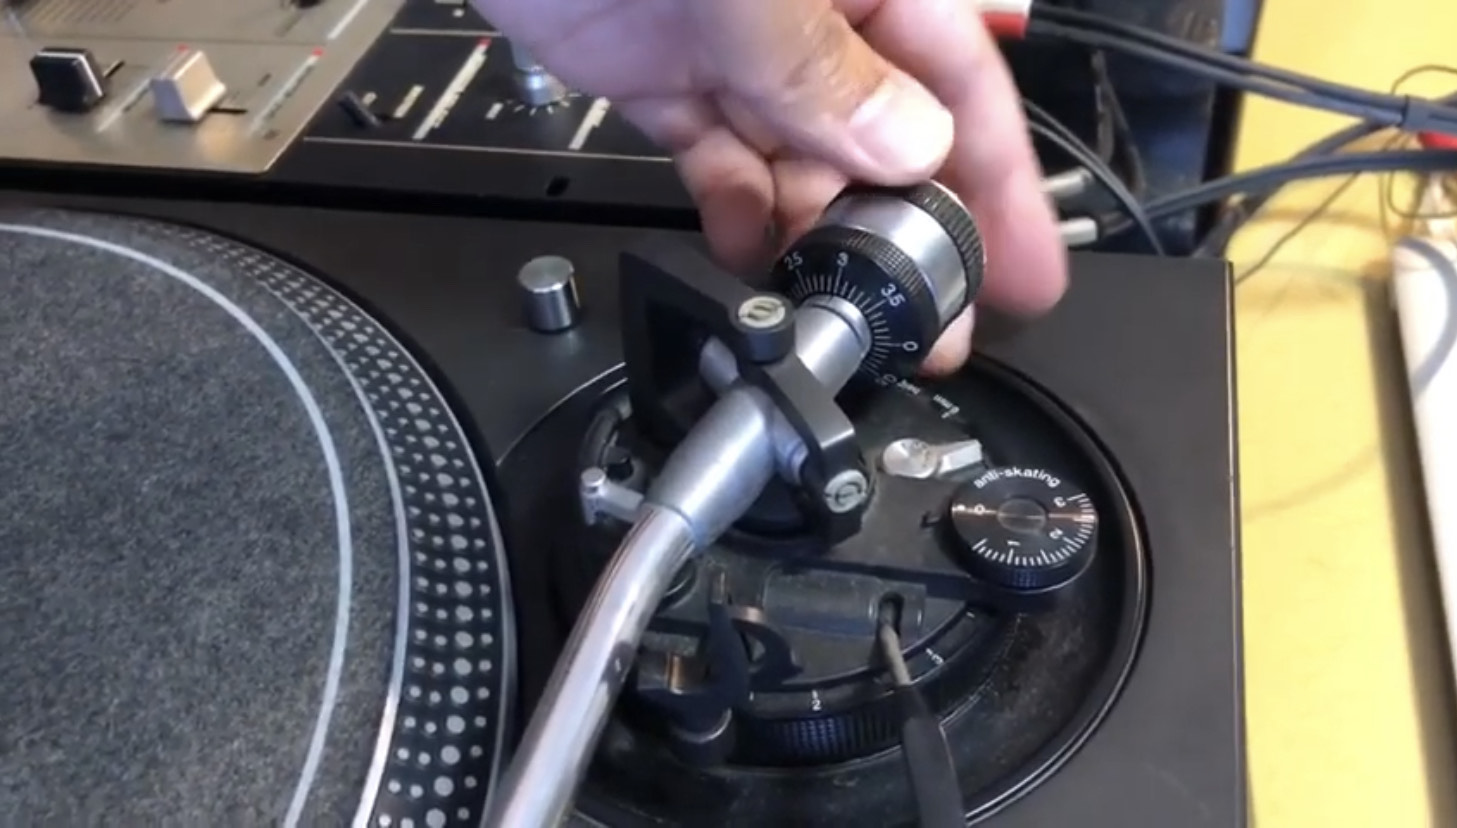
↑It became 3
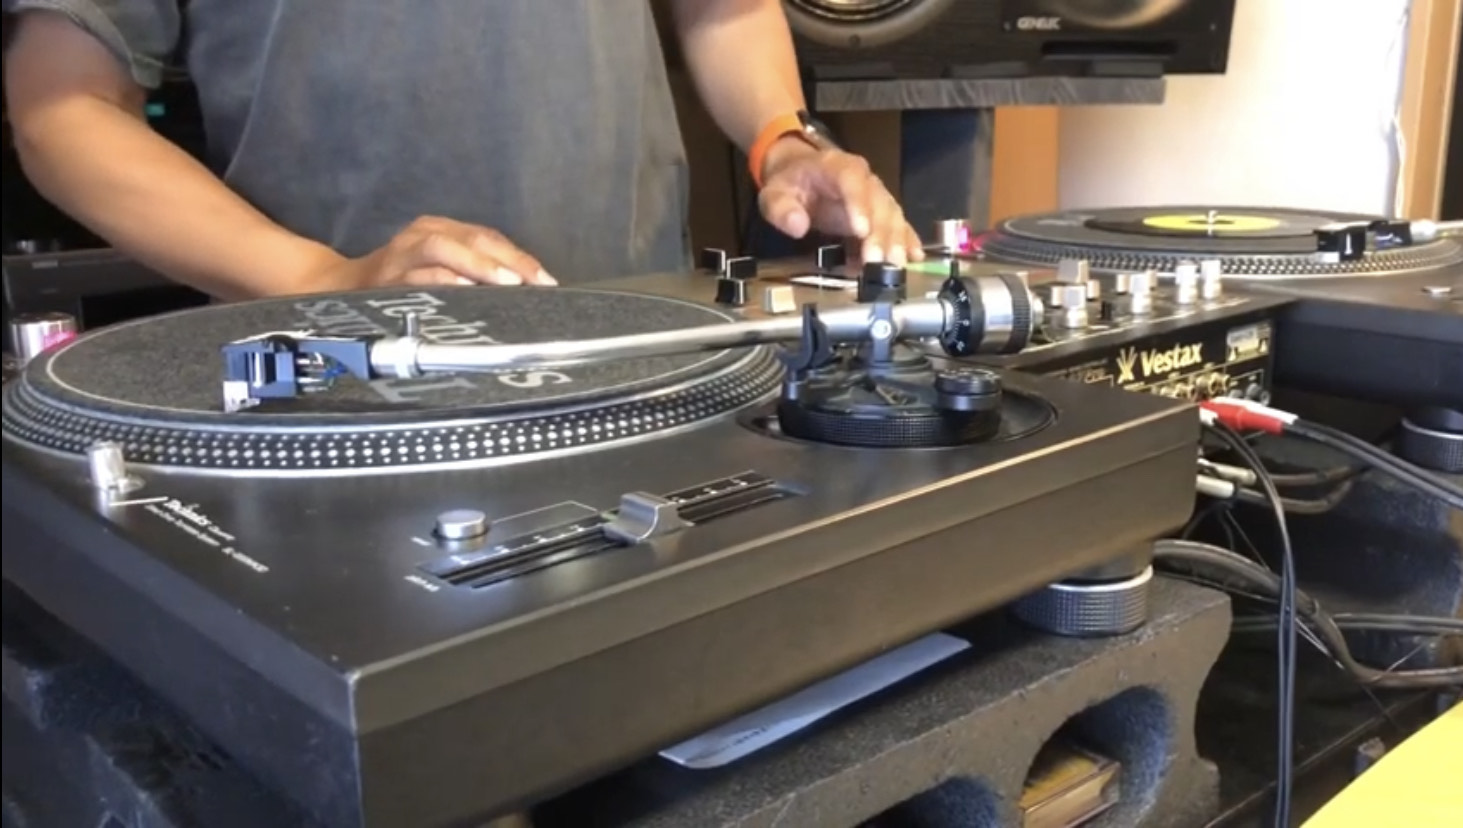
☆This completes needle weight adjustment = needle pressure adjustment!(The appearance has not changed from the end of step ②, but the needle pressure is different.)
Finally, it’s trivia,
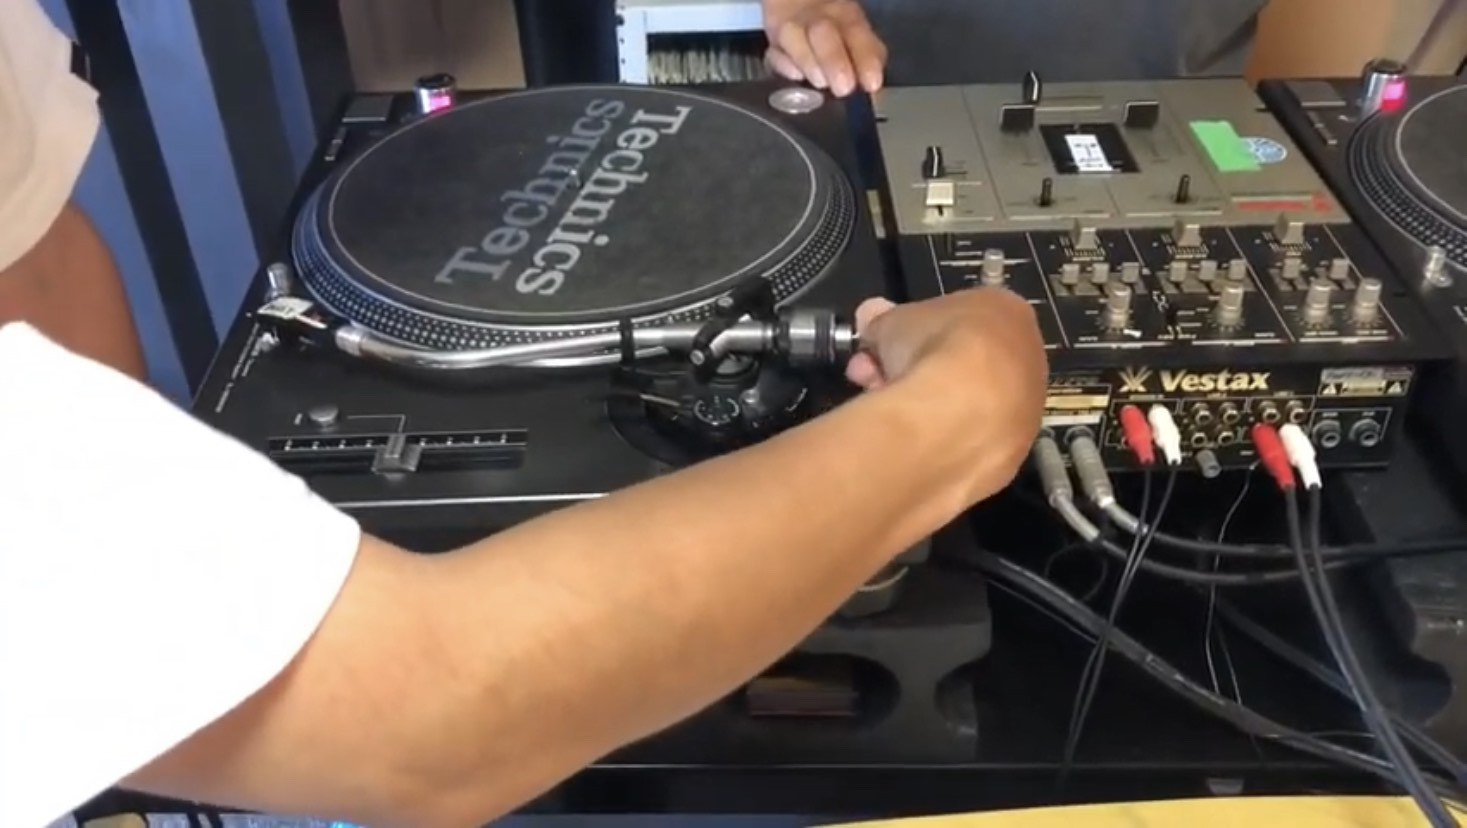
The turntable initially has something like a screw behind the weight.
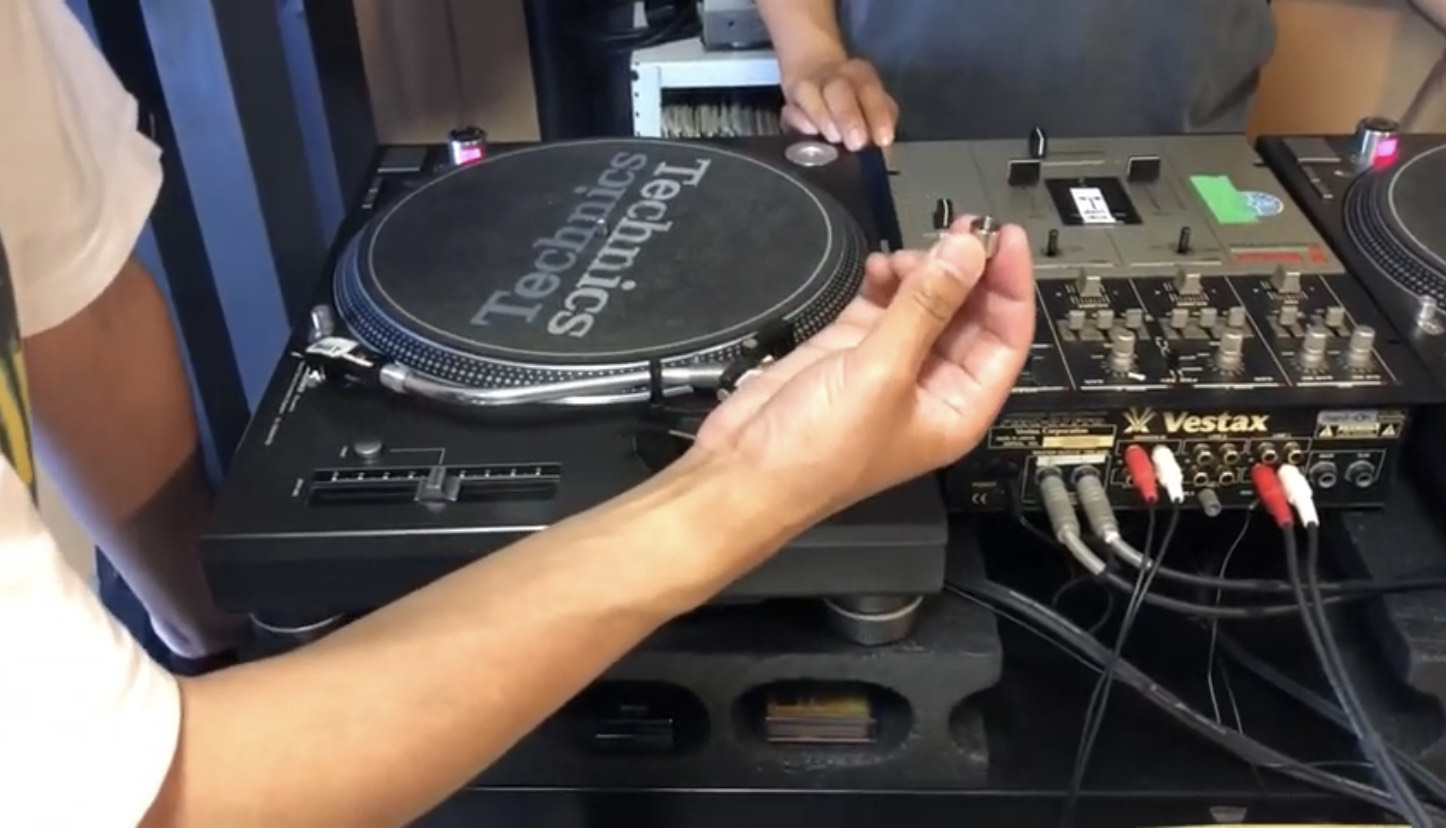
↑This.
If this is left on, the arm will not straighten unless the needle is heavier.
In addition, since the weight will shift, there are harmful effects such as the needle pressure not being appropriate even if it is adjusted to the gram written in the needle manual.
Many people stay on, but let’s take off it.
You did it!
This completes the correct setting method for the turntable.
It’s a delicate task, but you can get good performance by setting it faithfully and firmly.

